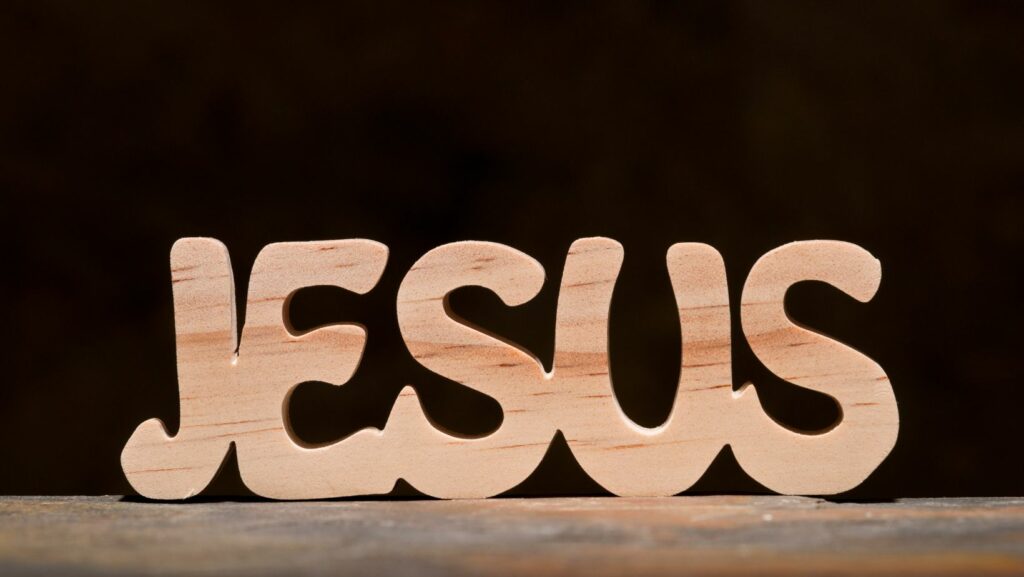
Crafting’s not just a hobby, it’s a passion that stirs creativity and brings out our inner artist. And when it comes to crafting, there’s nothing quite like the charm and versatility of wood letters. They’re a favorite among craft enthusiasts for their rustic appeal and endless customization possibilities.
Whether you’re looking to create personalized home decor, unique gifts, or even educational toys, wood letters can be your canvas. They’re easy to paint, glue, and decorate, making them perfect for both beginners and seasoned crafters. So let’s dive into the world of wood letters for crafts, and explore how they can add a touch of magic to your next project.
Wood Letters for Crafts
 Embarking on the journey of crafting with wood letters offers an exciting spectrum of possibilities. Essential factors to ponder include the type of wood and the size and thickness of the letters.
Selecting the appropriate type of wood greatly impacts the final result of your craft. Hardwoods, such as oak or maple, offer exceptional durability despite their heavier weight. On the other hand, softwoods like pine or fir are generally lighter and easier to manipulate, making them ideal for beginners. Yet, let’s not neglect MDF (Medium Density Fiberboard), it’s frequently chosen for its smooth surface, apt for painting and decoupage.
Size and Thickness Options
The size and thickness of wood letters for crafts are vital components to consider as they can transform the aesthetic appeal and functionality of your craft. Smaller letters, ranging from 1 to 3 inches, often work best for detailed artworks or intricate wall decals. Meanwhile, bigger letters – generally about 6 to 12 inches – create a noticeable impact, ideal for wall arts or personalized signage. Thickness, usually varying between 1/8 inch to 2 inches, impacts stability and ease of handling. Thinner letters are lightweight but may require extra care, whereas thicker ones are sturdy, standing up on their own without hassle.
Creative Uses of Wood Letters in Crafts
As we dive deeper into the realm of wood letters for crafting, it’s exciting to explore the creative applications for these versatile materials.
Home Decor Ideas

In the sphere of home decor, wood letters for crafts open a world of personalized artistry. Craft enthusiasts find it delightful creating customized wall hangings, using wood letters to spell out family names or inspiring quotes. For instance, a ‘Home Sweet Home’ sign handcrafted from reclaimed wood letters adds a rustic charm to any living room. Another ingenious use involves making customized coat racks, with wood letters serving as hooks, exuding both usability and aesthetic appeal.
Educational Projects for Kids
For children’s education, the role of wood letters extends beyond mere crafting. Aphabets crafted from wood letters make learning tangible and fun. A hands-on approach to teaching letters and phonic skills employs colorful, different shaped wood letters. Creating an alphabet wall, for example, with wood letters helps children in letter recognition and aids childhood literacy development.
Tips for Painting and Finishing Wood Letters
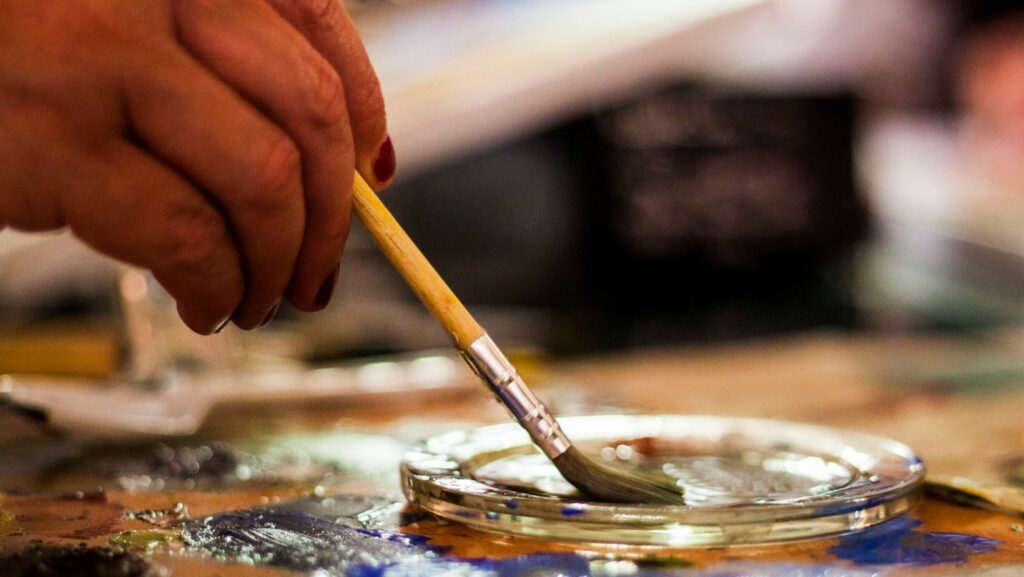
 On venturing into the realm of painting and finishing your wood letters for crafts, selecting the right materials and employing the best techniques can make a significant differenceWhen it comes to paints, not every type matches perfectly with wood. I recommend acrylic paint. It dries quickly, and you find it in an array of vibrant colors. Another good choice is chalk paint, known for its matt finish. It gives your wooden letters an antique, rustic look. Also, consider using spray paint. It’s a simple, streamlined option that ensures even coverage and comes in both high-gloss and matte finishes.
Techniques for a Professional Finish
Applying paint professionally to wooden letters revolves around a specific strategy and approach. Start by sanding the wooden letters before painting to ensure a smooth surface. When painting, apply thin coats, granting each layer ample drying time.
One popular technique is distressing. After painting and drying your letters, sand off small areas to reveal the wood beneath, achieving a vintage look. If a glossy shine suits your style, then a clear topcoat provides the finishing touch.