In the hustle and bustle of our daily lives, it’s easy to forget how creatively inspiring nature can be. I’m here to remind you of that forgotten connection with a dive into the beautiful world of nature crafts for adults. From the simplest leaf impressions to intricate driftwood sculptures, there’s a whole universe of art waiting just outside your door.
Nature Crafts for Adults
 Nature crafts for adults offer a calming experience. Engaging in these crafts can act as a productive channel for stress. An article in the American Journal of Public Health states that engaging with nature, even in simple activities like drawing or crafting, can have a positive effect on mental health. Rails-to-Trails Conservancy, a national non-profit organization, also supports this idea, showing that green spaces promote feeling good and increase relaxation.
Beyond mental wellness, nature crafts foster a long-lasting bond with nature. Immersing oneself in nature crafts compels us to step out into the natural world, helping to enhance our understanding and appreciation of our environment. From collecting unique pebbles to crafting intricate leaf prints, every activity offers a moment of discovery and a chance to see nature’s bounty in new ways.
Popular Types of Nature Crafts for Adults
Leaf and Flower Pressing
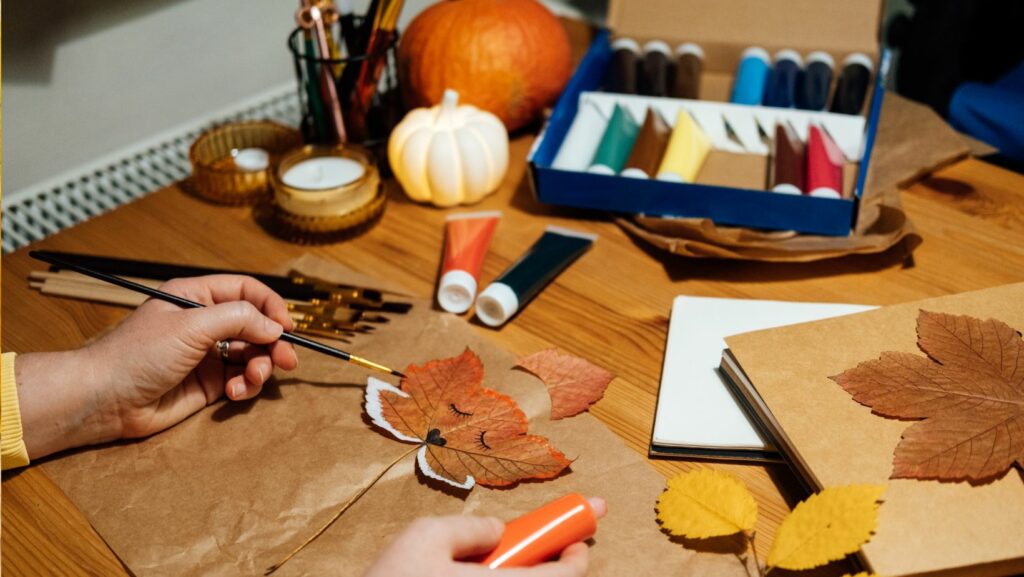
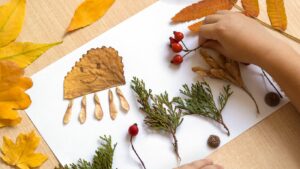
Among timeless nature crafts, leaf and flower pressing often comes to the forefront. It’s all about capturing the delicate beauty of nature in a lasting form. Adults find satisfaction in collecting diverse leaves and flowers, perhaps during a calming walk, then pressing them in a book, press or even the microwave. Once dried and pressed, these natural beauties serve as excellent materials for various craft projects.
Rock and Wood Painting
Replacing a blank canvas with a piece of nature, rock, and wood painting offer offbeat avenues for creativity. Adults find this activity therapeutic and also environmentally friendly. It commences with a treasure hunt, seeking the perfect rock or wood, each with its unique shape and texture. Once the right piece surfaces, we paint our imaginations onto these natural canvases, transforming them into art pieces or handy objects, like paperweights, door stops, or garden decorations.
Setting Up Your Crafting Environment
 An ideal crafting environment plays a pivotal role in enhancing your nature crafting experience. It’s essential to choose a space that’s airy, well-lit, and comfortable. Prioritize a space that can handle potential crafting mess and contains enough room for all your crafting materials.
A nature craft’s beauty lies primarily in the materials used. Gathering these materials can turn into an enjoyable and enriching experience of its own. Start by selecting materials available in your surroundings, such as leaves, flowers, rocks, or sticks. Ensure you’re respectful of nature in your collection, only taking what appears abundant or fallen.
Step-by-Step Guide to Simple Nature Crafts
Creating a Terrarium
 Building a terrarium offers an exciting, hands-on way to create a miniature, self-contained ecosystem. Here’s how you can construct one:
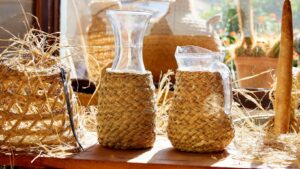
- Choose a Clear Container: Any clear glass or plastic container with a lid serves as the perfect home for your terrarium. Jars, vases or even fish tanks will do, provided they’re clear and clean.
- Create a Base with Rocks: Cover the bottom of your container with a thin layer of small rocks or pebbles. This base, often an inch thick, promotes drainage and prevents your plants from becoming waterlogged.
- Add a Layer of Charcoal: Sprinkle a layer of activated charcoal over the rocks. Charcoal keeps your terrarium fresh by absorbing any odors or toxins.
Crafting a Driftwood Wind Chime
Creating a driftwood wind chime adds a coastal and rustic charm to any space. Here’s how to make one:
- Gather Your Materials: For this craft, you’ll need driftwood pieces of different lengths, strong, clear thread and a larger piece of driftwood to serve as the top hanger.
- Drill Holes: Using a small drill bit, make a hole in one end of each driftwood piece.
- Thread and Secure: Pass the thread through the hole in each piece, tying a knot to secure it on the driftwood, and ensuring each piece hangs at a different height.